
Appearance
Preprocessing
Configure preprocessing transformations applied before training. These steps standardize inputs and are applied consistently to both training and validation images.
Why this matters
- Model performance: Consistent input size is required by most architectures; mismatched sizes can degrade accuracy or fail at runtime.
- Efficiency: Smaller, non‑upscaled inputs reduce GPU memory consumption and training time with minimal quality loss if chosen well.
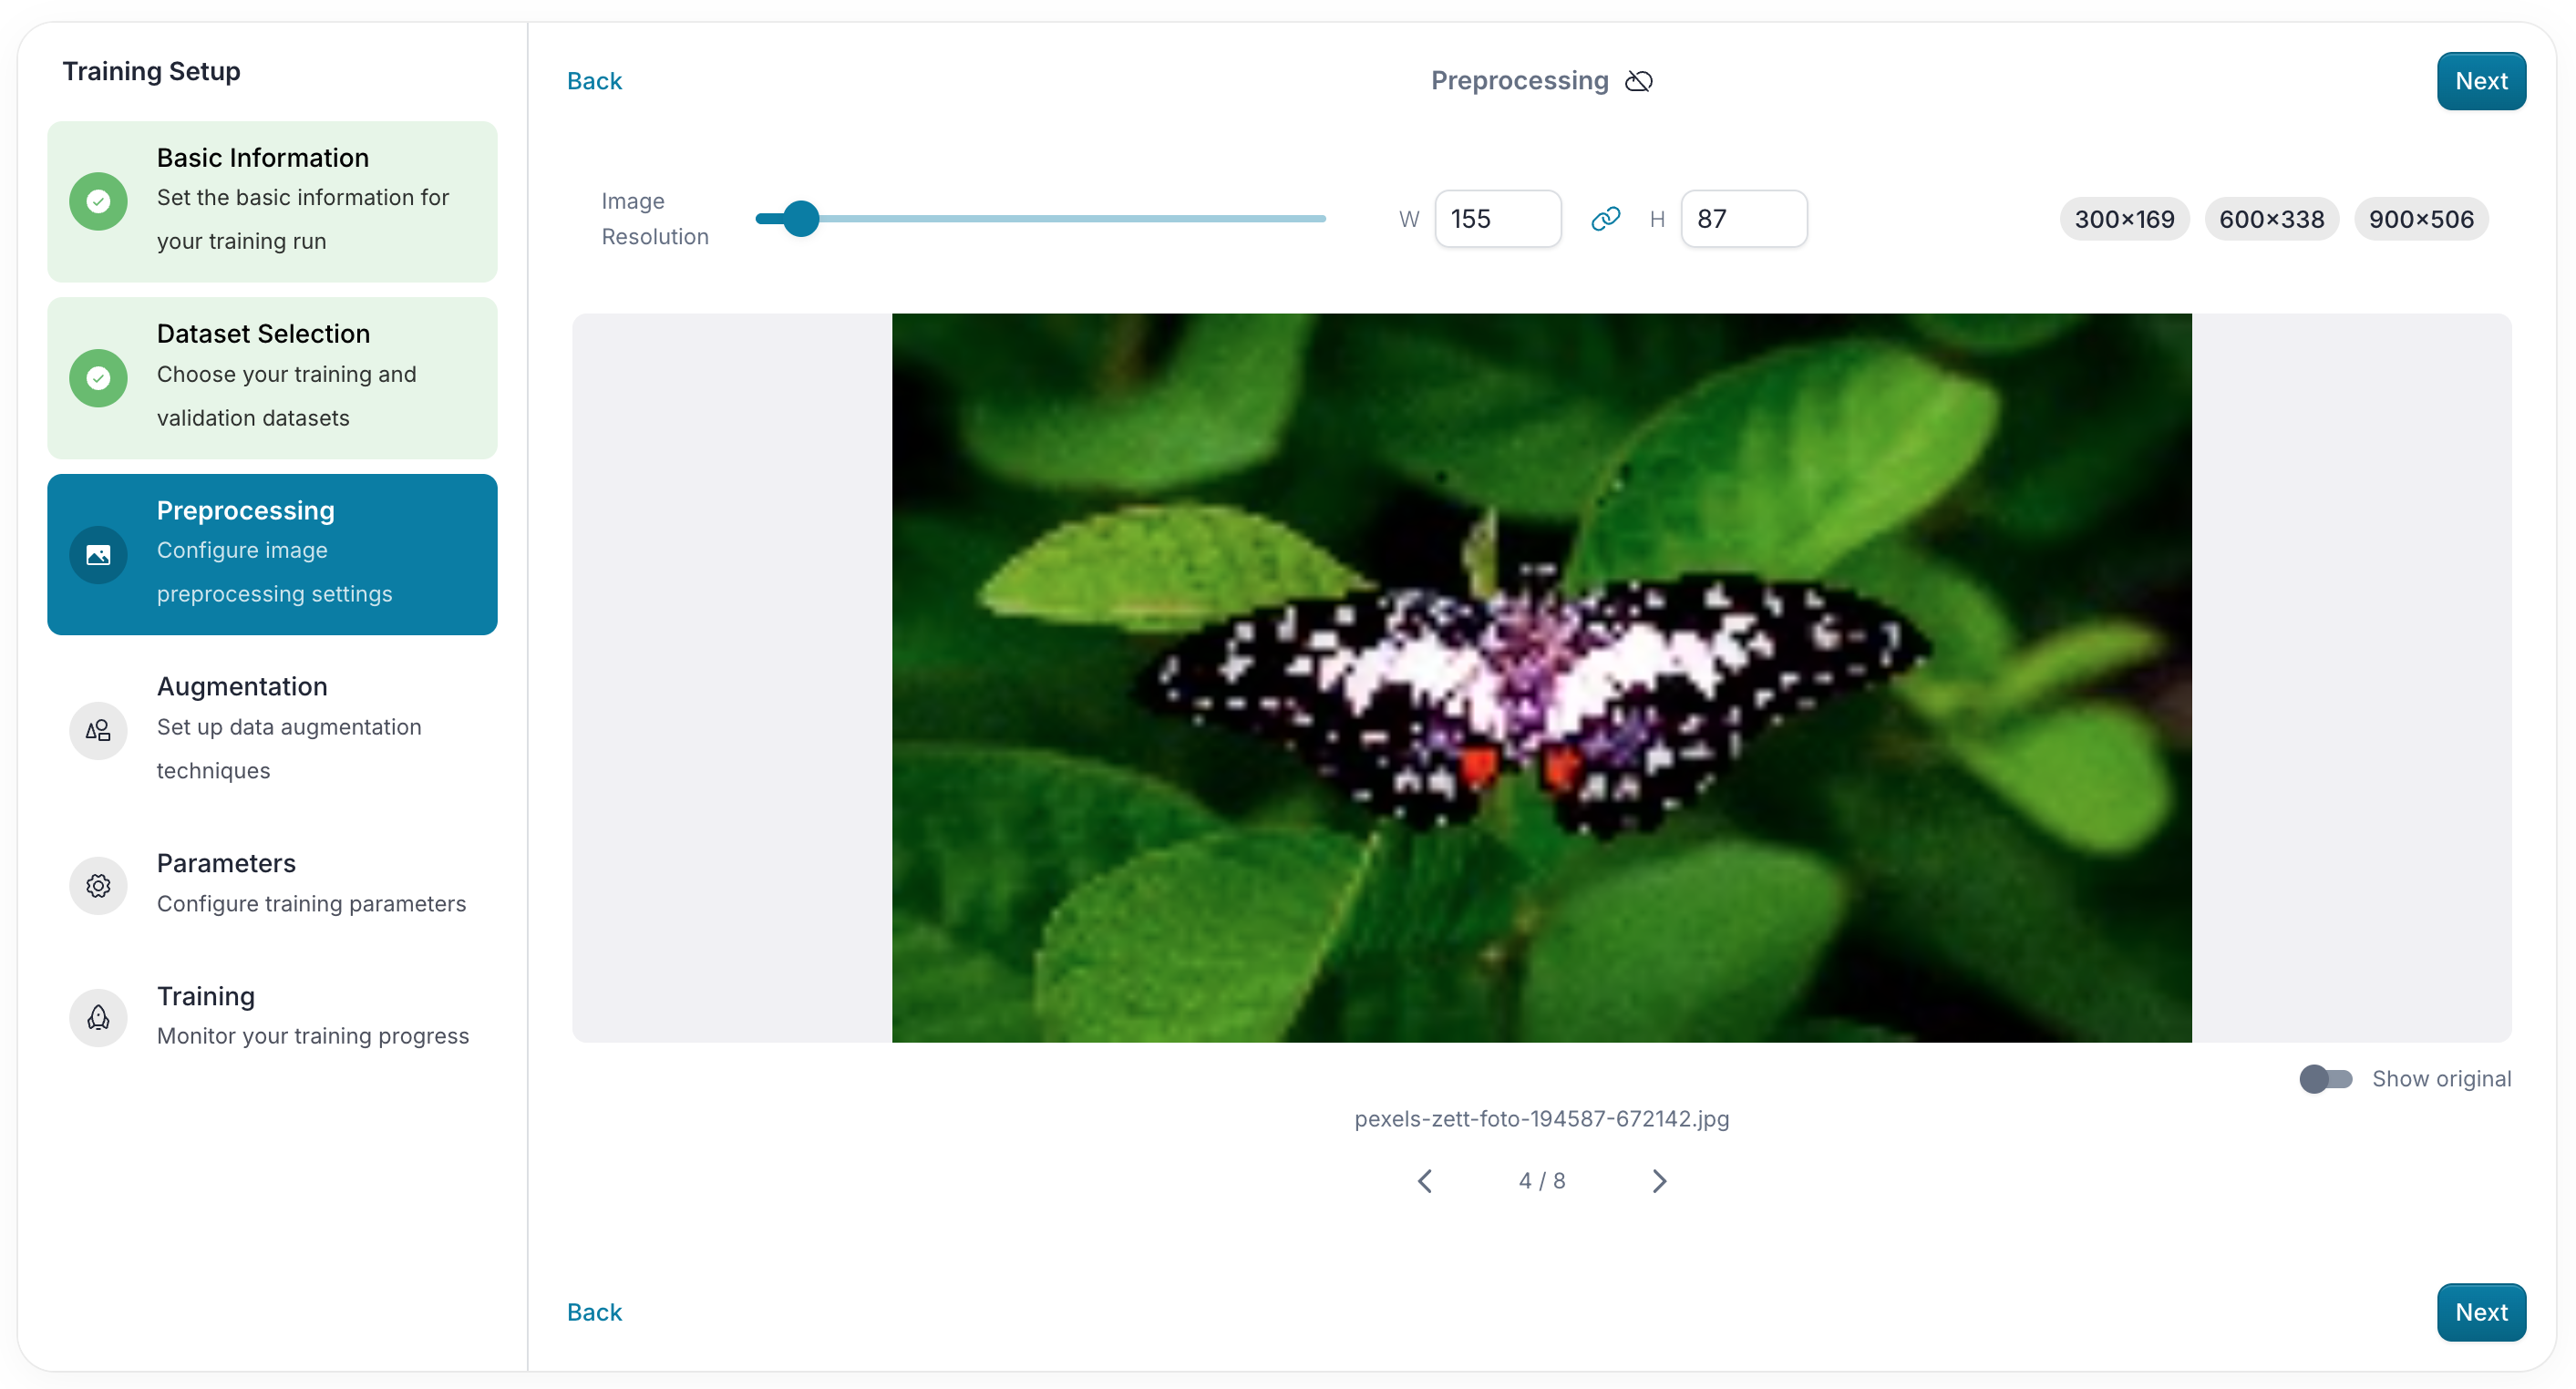
Preprocessing preview
Use the preview to compare the processed image against the original and to cycle through sample images. Treat the preview as the source of truth for visual quality after all selected settings are applied.
- Toggle original vs. processed to assess changes.
- Browse multiple images to catch edge cases (very small/large, low contrast, etc.).
- If important objects begin to disappear or degrade after resizing, use a higher resolution instead of reducing size further.
💡 Tip
You can review all images that will be used for training (not validation), excluding those without selected annotation or that are suspended.
Setting Image Resolution
Controls downsampling to a consistent input size required by most models.

What it does
- Sets
resize_widthandresize_heightapplied to every image before training and validation. - Maintains aspect ratio by default; it can be unlocked for explicit control.
- Enforces dataset‑aware limits to discourage upscaling beyond the dataset’s minimum dimensions.
⚠️ Aspect ratio is computed from the smallest training/validation image. Width/height caps equal those minima, ensuring you can downsample without ever upscaling any image.
💡 Tip
Choose the smallest resolution that preserves essential details. This typically tracks the dataset’s minimum size.
Valid vs. invalid
- Valid: positive integers (≥ 1), sizes at or below dataset minimums, proportional dimensions when the aspect ratio is locked.
- Invalid/Discouraged: zero/negative sizes, aggressive upscaling, and arbitrary aspect ratios without a clear rationale.
How to configure
- Choose a target width; keep aspect ratio locked to derive height.
- Aim near the dataset minimum to avoid upscaling; adjust for model capacity and compute budget.
- Validate with the preview; ensure important details remain clear without blur.
- Save when dimensions are within bounds and the previews look sharp.
⚠️ Automatic preprocessing
In addition to the configurable resolution settings, the platform automatically converts grayscale images to RGB and normalizes pixel values to the [0,1] range. These steps are required by the underlying model architectures and cannot be disabled.