
Appearance
 Region of Interest
Region of InterestOverview
This node filters input polygons by checking if they fall within a user-defined static region of interest (ROI). It's used to ignore detections in background areas or focus analysis on a specific part of the camera's view.
Use Region of Interest when:
- You want to exclude people detected in a walkway but count them if they are on a production line.
- You need to separate detected objects into different logic branches based on their location.
💡 Tip
The ROI is defined as a percentage of the image dimensions, where (0,0) is the top-left and (1,1) is the bottom-right. This ensures the ROI stays correctly positioned even if the camera resolution changes.
Inputs
| Name | Type | Description |
|---|---|---|
| polygons | list[polygon] | The list of polygons to be classified. |
Outputs
| Name | Type | Description |
|---|---|---|
| inside | list[polygon] | Polygons that are within the ROI. |
| outside | list[polygon] | Polygons that are outside the ROI. |
| roi | list[polygon] | The ROI itself, returned as a polygon list with a single item. |
Parameters
| Parameter | Default | Valid values | Tunable |
|---|---|---|---|
| Region of Interest polygon points | unit square | list of at least 3 points | ❌ |
| Check method | center | center | ❌ |
Region of Interest polygon points
A list of {"x", "y"} points that define the region of interest. Coordinates are normalized — expressed as fractions of the image dimensions where {"x": 0, "y": 0} is the top-left corner and {"x": 1, "y": 1} is the bottom-right corner. For example, {"x": 0.5, "y": 0.5} represents the center of the image.
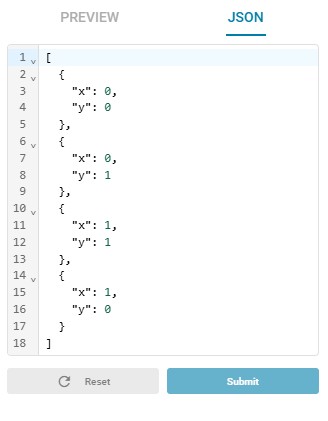
The default value is a unit square covering the full image: [{"x": 0, "y": 0}, {"x": 0, "y": 1}, {"x": 1, "y": 1}, {"x": 1, "y": 0}].
⚠️ Warning
The ROI polygon must contain at least 3 points. Fewer points will cause a validation error.
Editing the ROI
The roi_points parameter uses a visual widget with two editing modes:
JSON editor — Set coordinates numerically via a JSON structure.
Visual editor — Draw and adjust the ROI interactively on a preview image. Click the preview tab to open it.
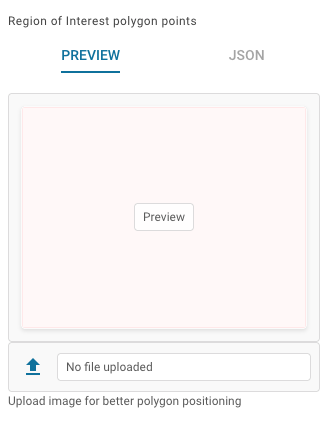
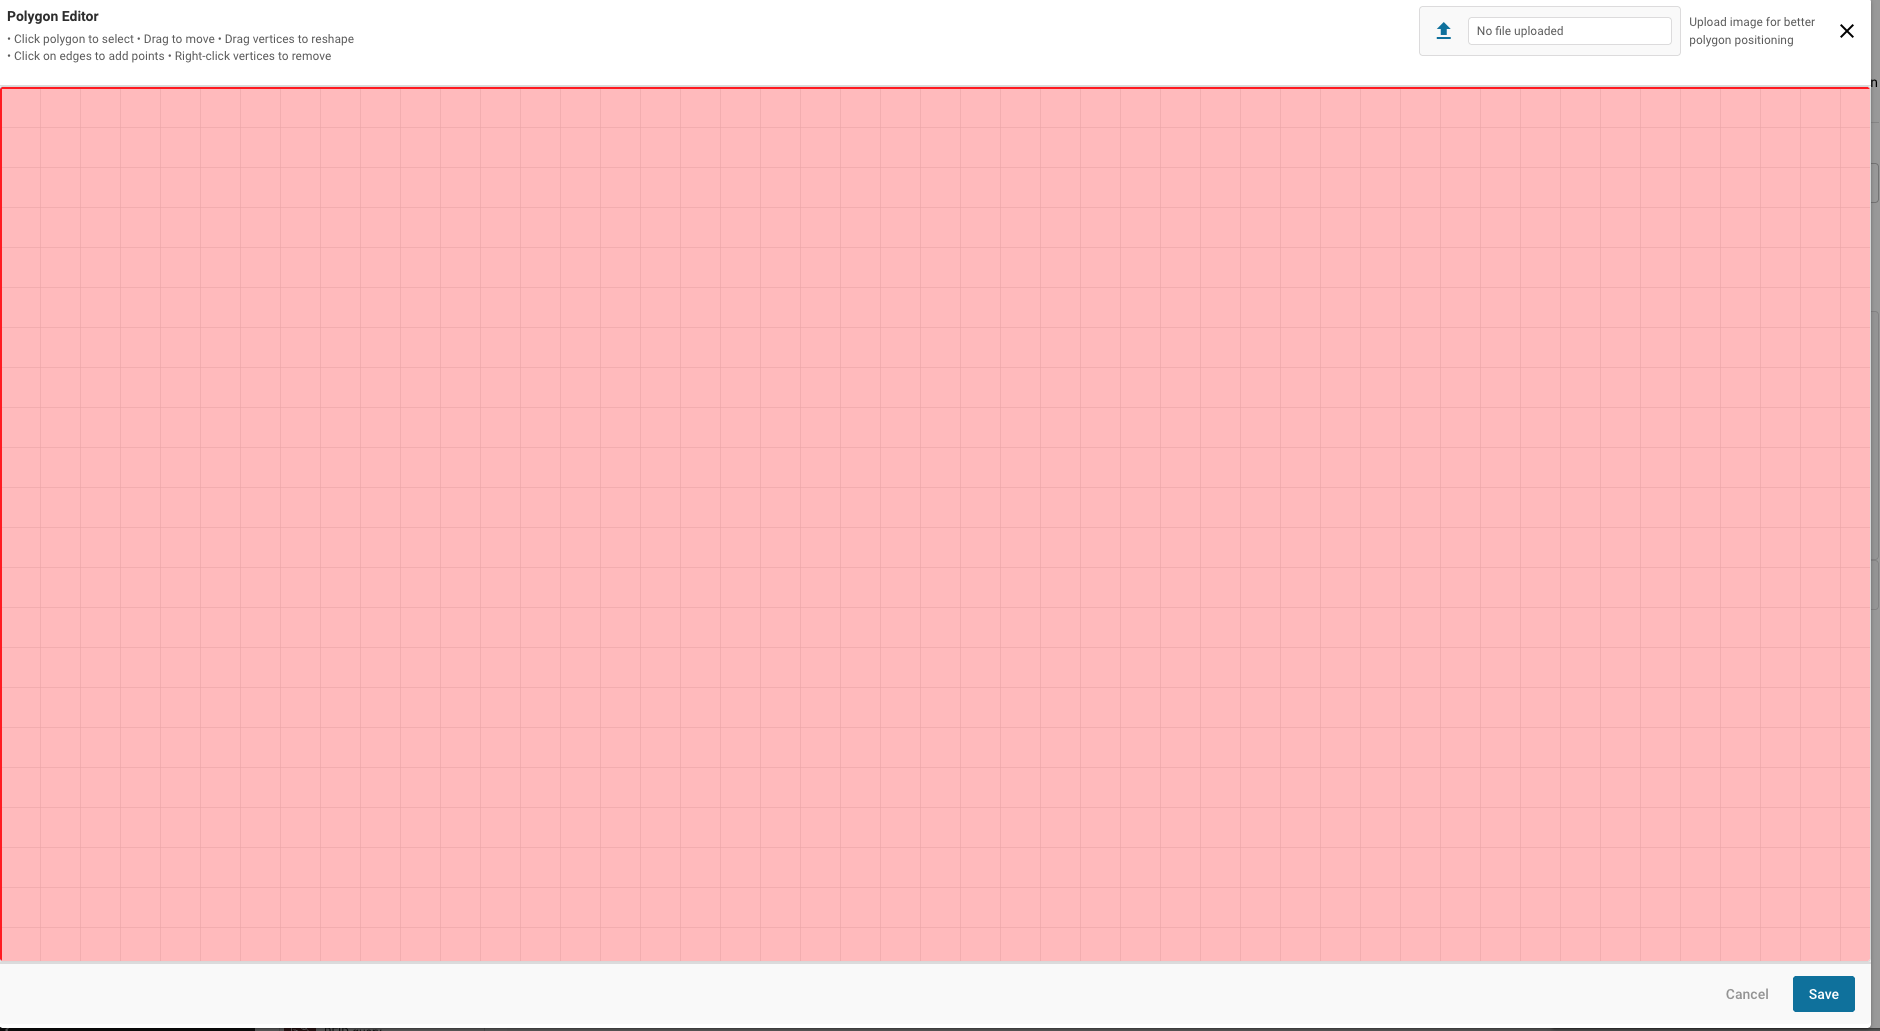
You can upload a reference image with the file uploader to position the ROI precisely over the area of interest. Click on the preview to open the interactive editor where you can drag individual points.
💡 Tip
Don't forget to save the ROI after editing — unsaved changes will be lost.
Check method
The rule used to determine if a polygon is "inside" the ROI. The node checks if the geometric center of each input polygon falls within the ROI boundary. Currently center is the only supported method.
Example
Filter detections on a workbench
A camera monitors a large workshop. An ROI is drawn exactly over a specific workbench. Any tool detected on that bench is passed to the "inside" output for further processing, while tools left on the floor are sent to "outside".
Configuration:
- Check method:
center
Result: Only tools placed within the bench's area trigger the next steps in the flow.
Related links
Reference:
- Polygon Threshold — filtering polygons based on confidence or area
- Dynamic ROI — an ROI that moves based on other detections