
Appearance
Model Training: Find Foreign Objects on a Board
Overview
In this tutorial, you will set up all necessary components and train an anomaly detection model.
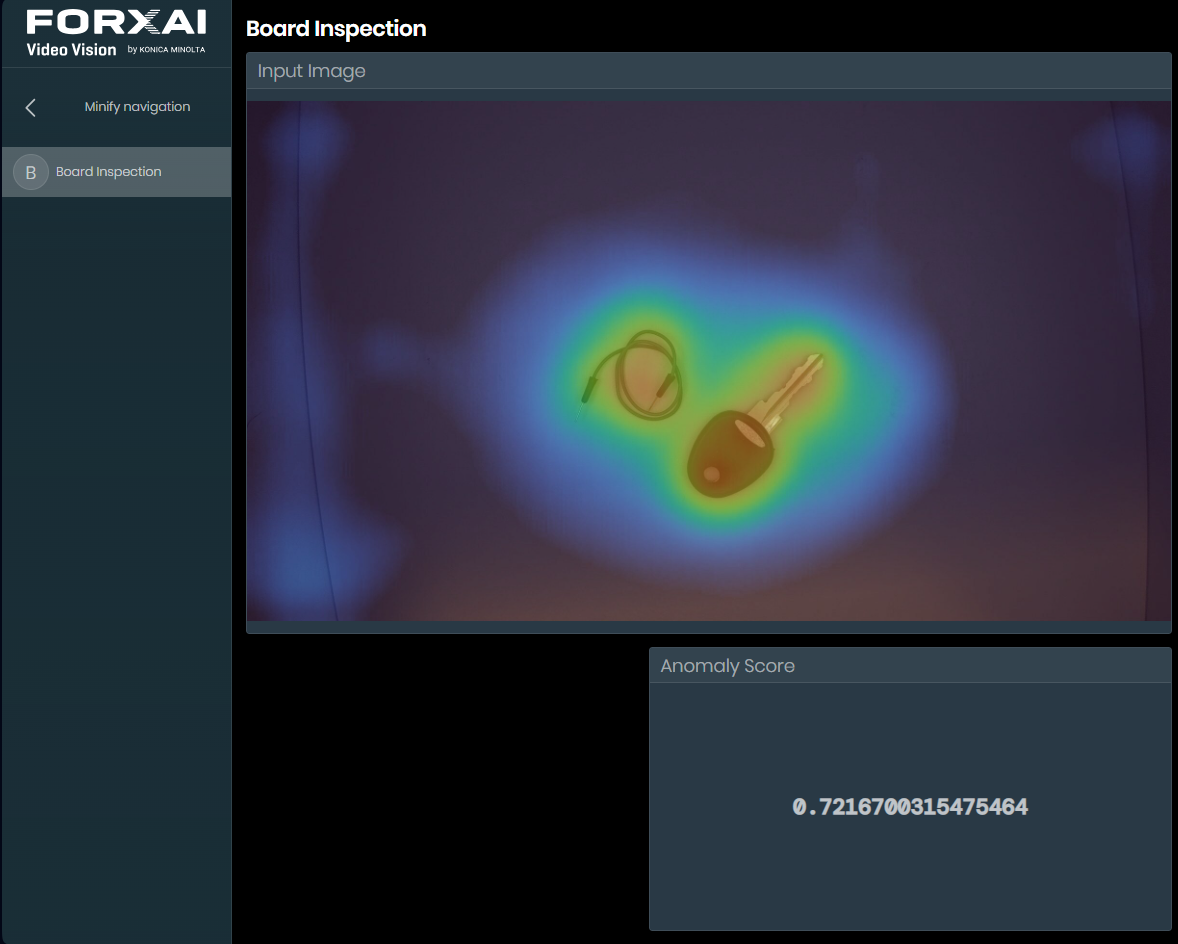
For this use case, an empty board is considered OK, while any object on the board is treated as an anomaly (NOK).
Estimated time
30 minutes (if you have already completed the OD training tutorial).
What you'll learn
- Add and manage datasets and annotations for anomaly detection tasks.
- Configure a model training workspace and experiment.
- Train a two different anomaly detection models using predefined architectures.
What you'll build
By the end of this tutorial, you will have a trained anomaly detection model capable of:
- Identifying whether a board is empty (OK) or loaded (NOK).
- Producing a localization heatmap highlighting anomalies.
Prerequisites
To complete this tutorial, you will need:
- The password for the
platformadminuser (provided during platform installation). - A machine with a GPU with at least 8 GB VRAM.
- Downloaded training dataset, validation dataset, validation annotations.
To complete this tutorial, you need the platformadmin role. If you don't have this role, you cannot access model training.
Step 1: Create Training and Validation Datasets
In the Hub, go to the Dataset tab and create two image datasets using the files from the prerequisites section. Name the first dataset Board Train (empty-boards-train.zip) and the second dataset Board Val (empty-boards-val.zip). If you don't know how to create a dataset, go to Create an Image Dataset and then come back.
Step 2: Add Annotations
The training dataset must contain only OK images, therefore, no annotations are required for training data. However, the validation dataset requires annotations:
- Open the
Board Valdataset. - Upload the validation annotations file (
empty-boards-val-annotations.xml). - Select
Classificationas theAnnotation type.
For detailed instructions, see:
Add Annotations to Your Datasets
Step 3: Create a Model Training Workspace
Follow the same workflow as in the object detection tutorial until you open an experiment.
Reference:
Create Training Workspace
Step 4: Configure Training
Use the stepper interface and follow these settings:
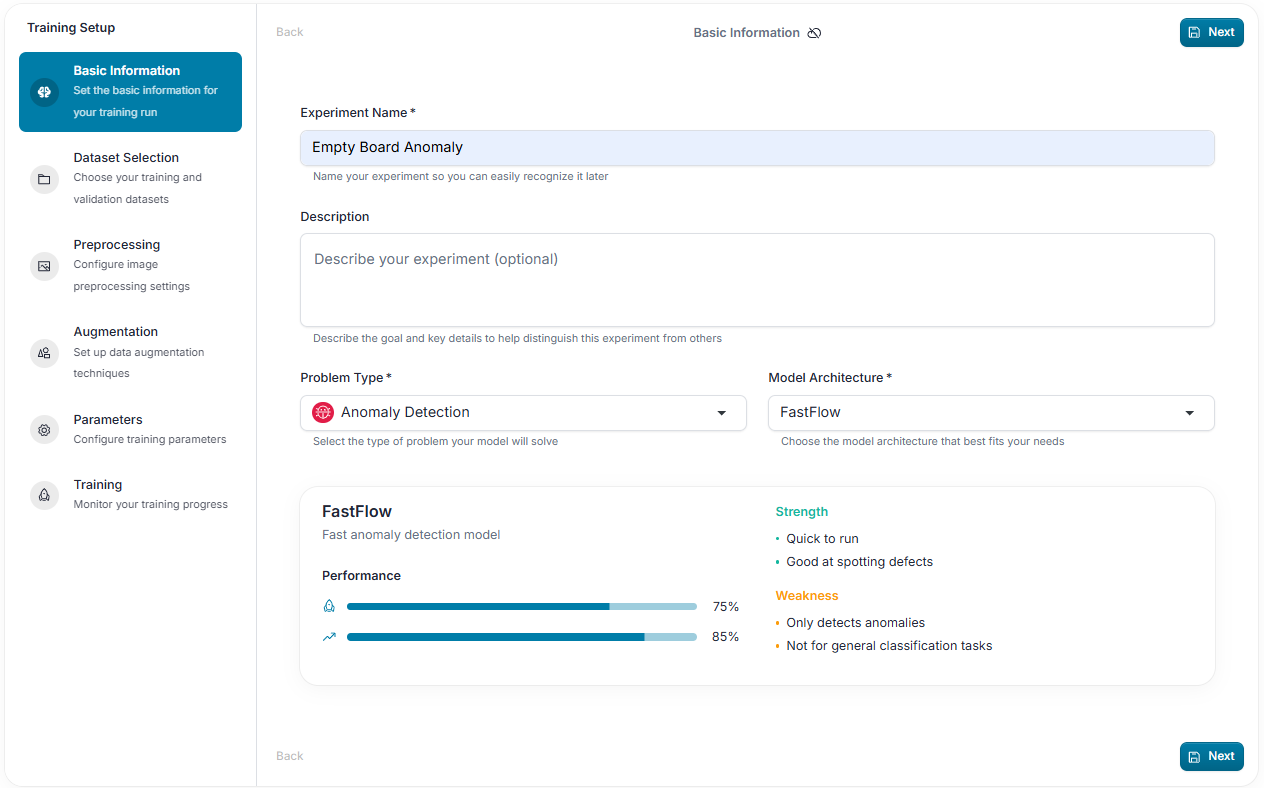
- Basic configuration
- Name:
Empty Board Anomaly. - Problem Type:
Anomaly Detection. - Model Architecture:
FastFlow.
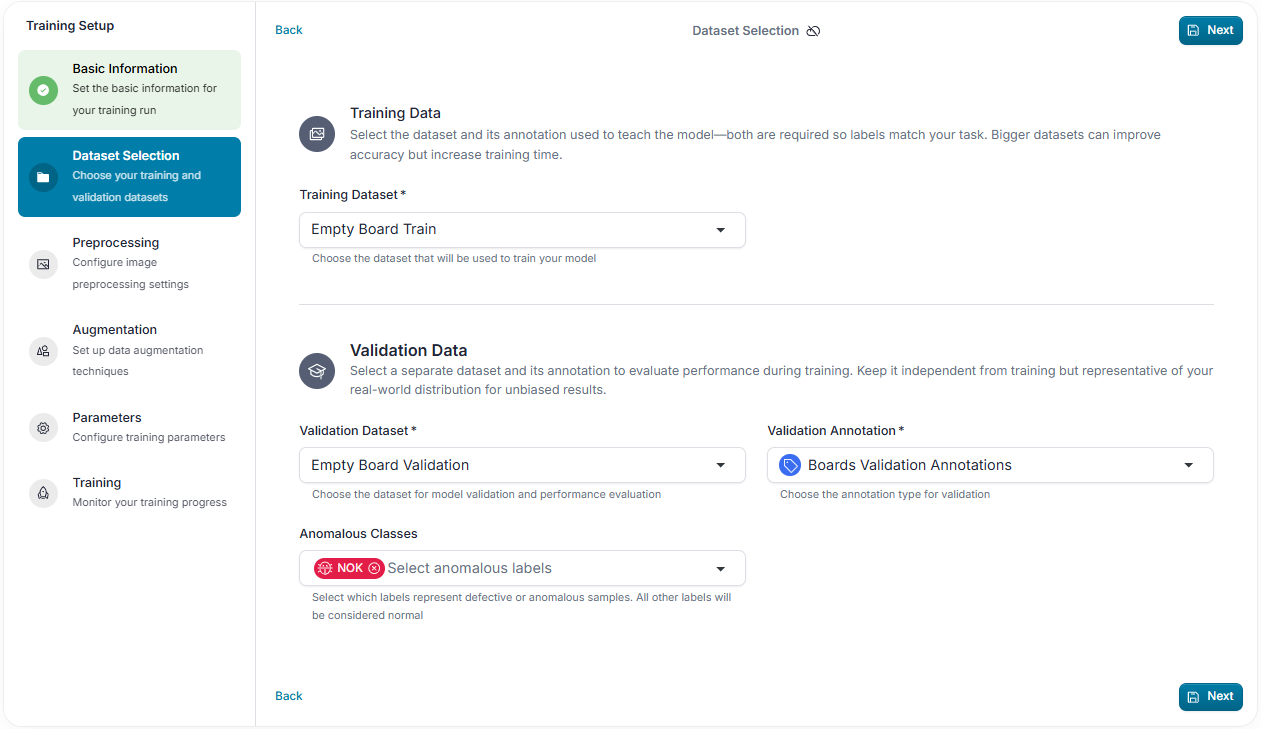
- Datasets and annotations
- Training dataset: uploaded training dataset.
- Validation dataset: uploaded validation dataset.
- Validation annotations: uploaded validation annotations.
- Anomalous Classes:
NOK(represents defective or non-empty boards).
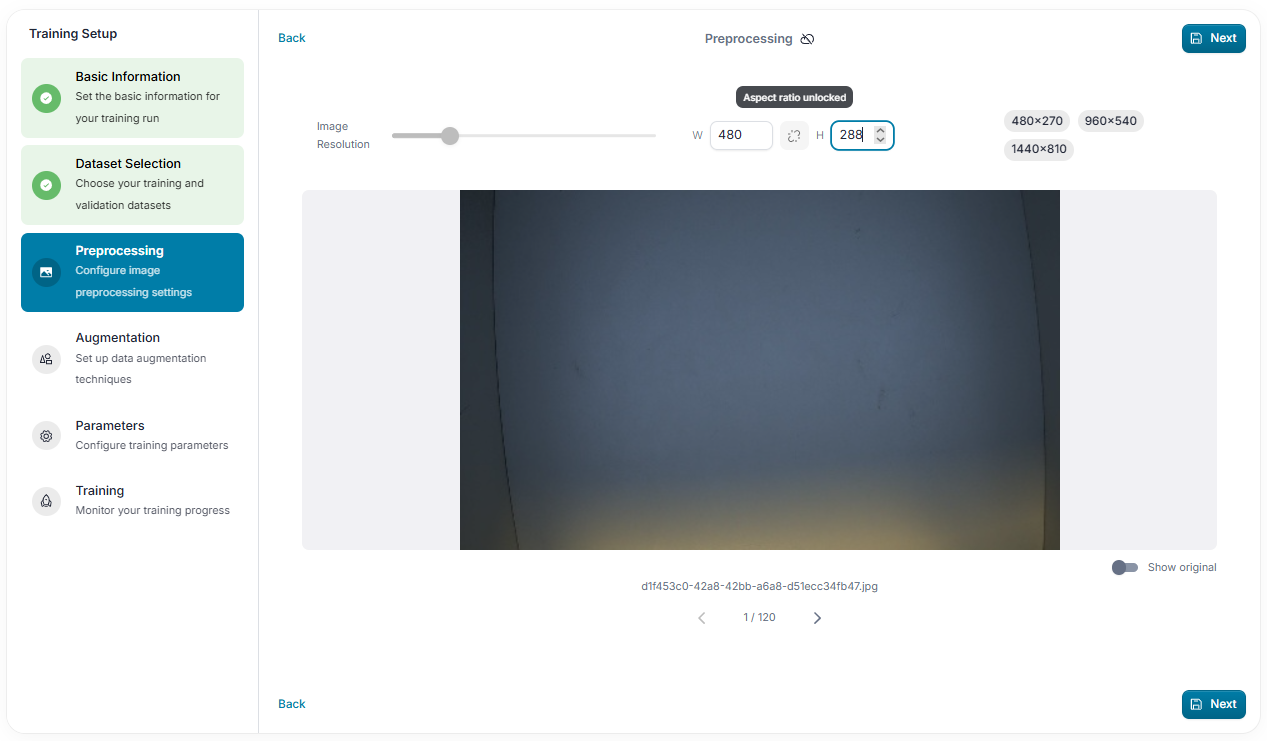
- Preprocessing
- Set image resolution to
480x288to reduce computational load and speed up training. - Click the link icon between W and H to unlock the aspect ratio.
- Data augmentation
- Click
Nextto skip this step
Training configuration
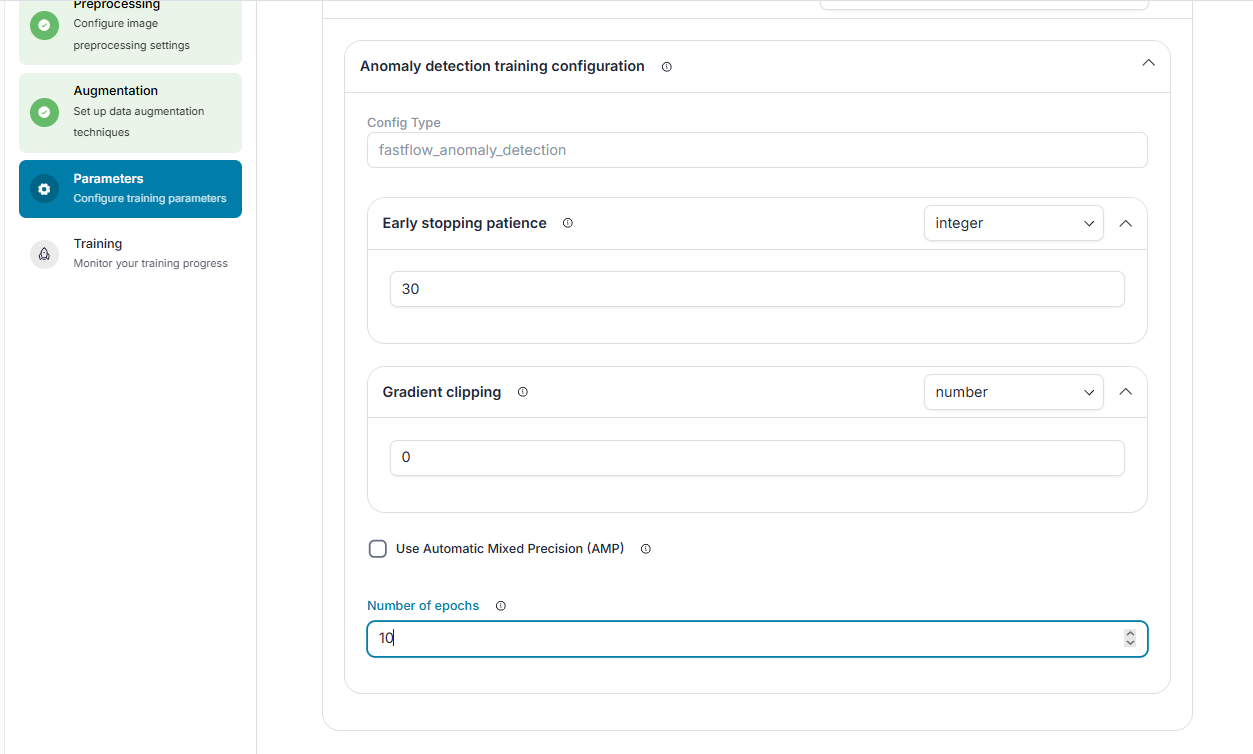
- Open
Anomaly detection training configuration. - Set
Number of epochsto10. - Leave all other settings as default.
- Open
- Start training
- Click
Start Training. - Monitor live training metrics.
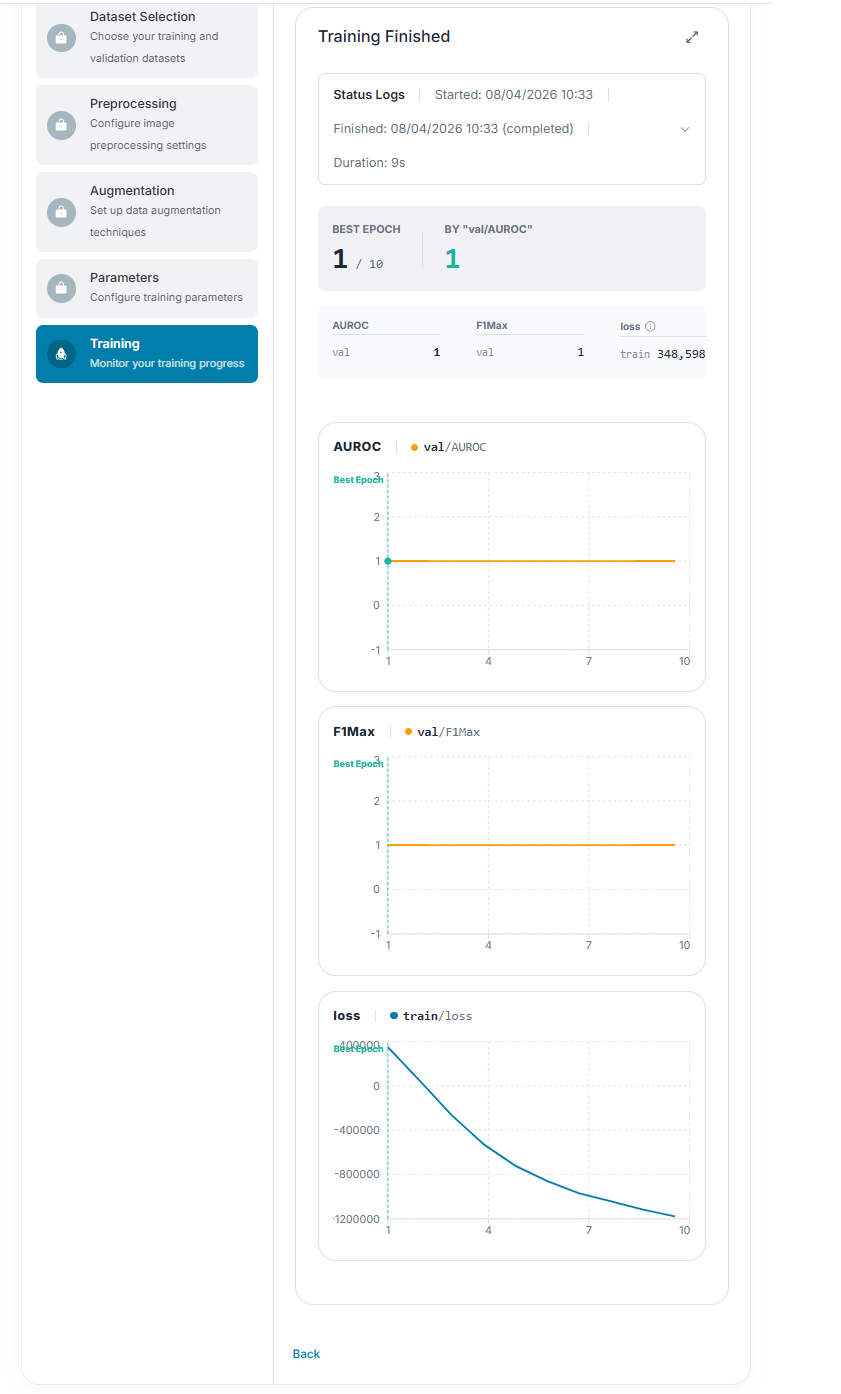
⚠️ Training results may vary.
Training is not fully deterministic due to data ordering, augmentation, and slight variations in numeric operations. This can change exact mAP values, but overall results remain consistent.
Optional: Try PatchCore
You can compare another architecture:
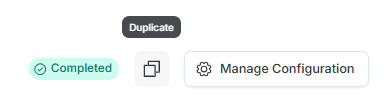
- Click Duplicate (top left).
- This creates a new experiment with the same configuration.
Configure PatchCore
- Change Model Architecture to
PatchCore. - Click through all steps using
Next. - Click
Start Training.
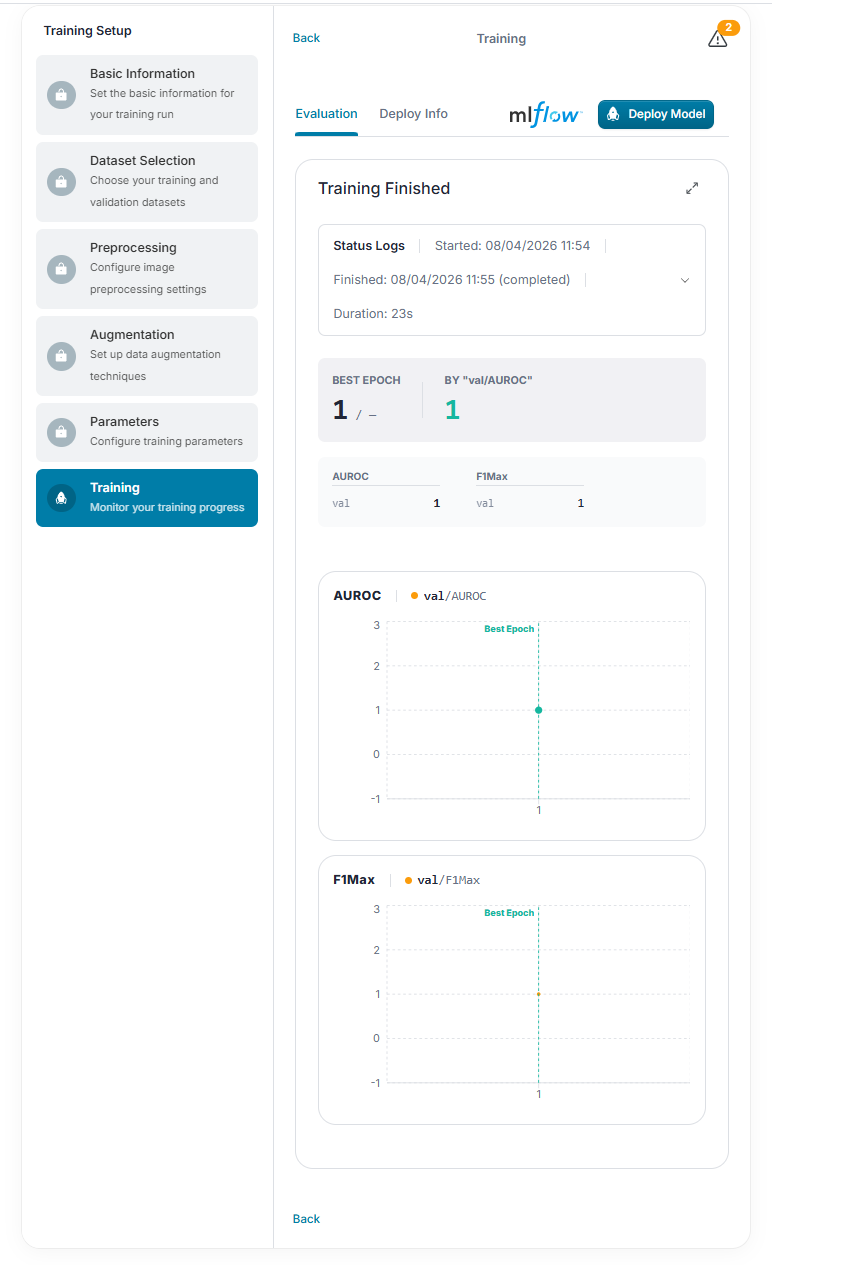
Notes on PatchCore
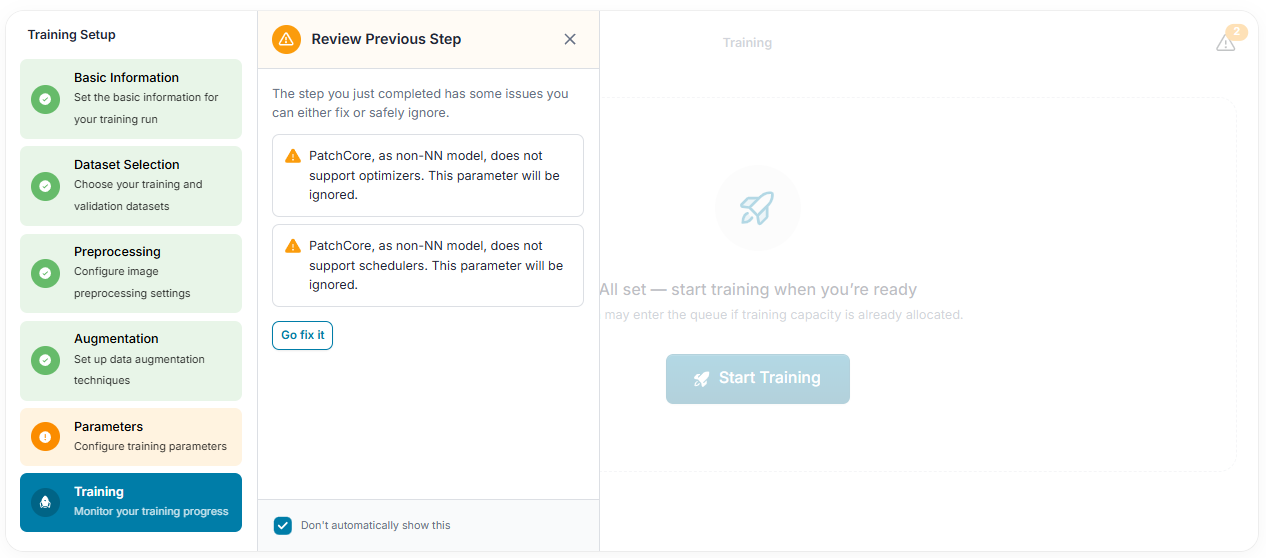
- PatchCore is a non-iterative architecture.
- Some training parameters are ignored (you’ll see a warning, this is expected).
- You will not see a training curve, but a single metric point.
Conclusion
You have successfully:
- Trained an anomaly detection model using FastFlow.
- Compared it with PatchCore.
- Learned how anomaly detection differs from object detection workflows.
Your model can now detect whether a board is empty or contains foreign objects and highlight anomalies using a heatmap.
Next steps
Now that you've completed this tutorial, you can learn how to: